Screed Flooring in Cape Town
Cape Town’s screed flooring specialists. Sand and cement, self-levelling, colour screed and screed repair, installed correctly, the first time.
Free Site Visit * No Obligation Quote
Workmanship guarantee on every job
Serving all of Cape Town & Western Cape
10+ years of installation experience
Free site visit — available this week
What is screed flooring?
Screed is a thin, smooth layer of sand, cement and water applied over a concrete base. Its job is simple: to create a flat, level surface that is ready for the final floor finish, whether that is tiles, epoxy, polished concrete or vinyl.
It sounds straightforward. But screed done wrong is one of the most expensive flooring mistakes a Cape Town homeowner or developer can make. Cracking, delamination, and uneven curing are common when the substrate is not properly prepared or when moisture in the slab is not tested and treated before the screed is laid.
Cape Town’s climate adds a layer of complexity that most online guides do not address. The Western Cape’s wet winters and warm, dry summers create seasonal moisture movement in concrete slabs, particularly in older homes in the Southern Suburbs and in new-build estates where slabs are still curing. If this moisture is not measured and managed before screeding, the results fail within months.
At Solid Tech Flooring, we test every slab before we screed it. We moisture-test, prepare the substrate correctly, and apply the right screed type for the specific job. That is what “installed correctly, the first time” means in practice.
Types of screed we install in Cape Town
Screed is not one thing. The right type depends on your project, your timeline, your substrate and your final finish. Here is a plain guide to each.
Sand and cement screed
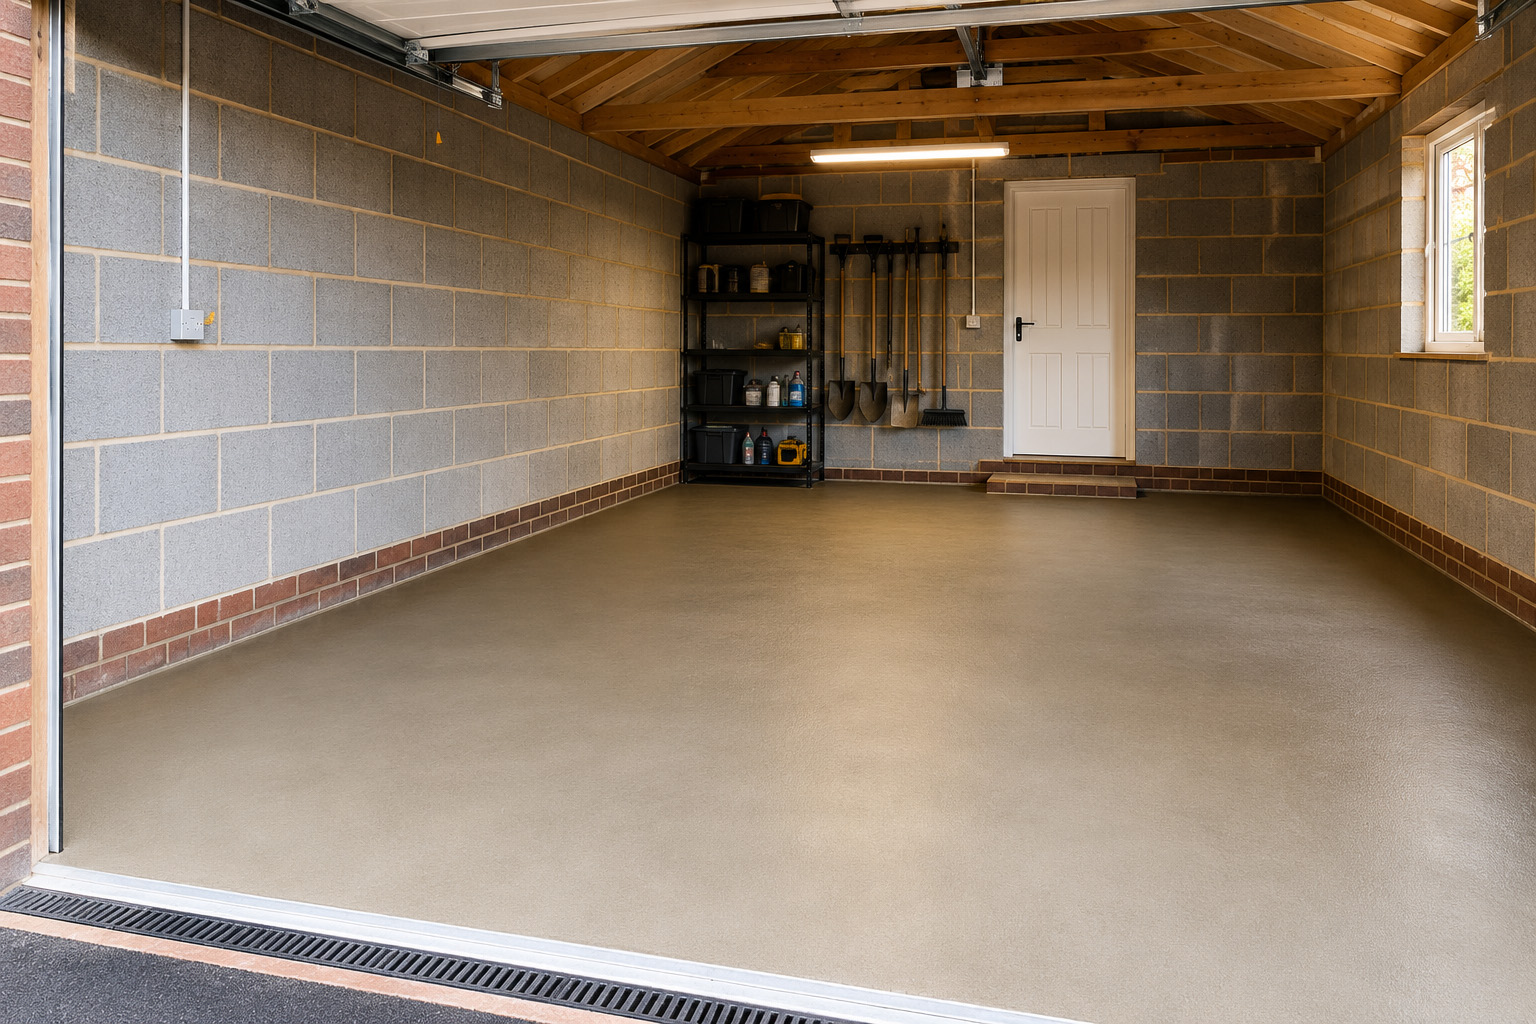
Sand, cement and water, mixed on-site and applied by hand. This is the most common type of screed in South Africa and works well for large areas, thicker applications (25–75mm) and where a longer drying time is acceptable.
Sand and cement screed is cost-effective, widely available and suitable for most residential and commercial applications. It needs around 28 days of proper curing before heavy use or tiling begins, a point that is often underestimated in busy construction schedules.
Best for: New build slabs. Large commercial floors. Projects where time is not critical.
Self-levelling screed
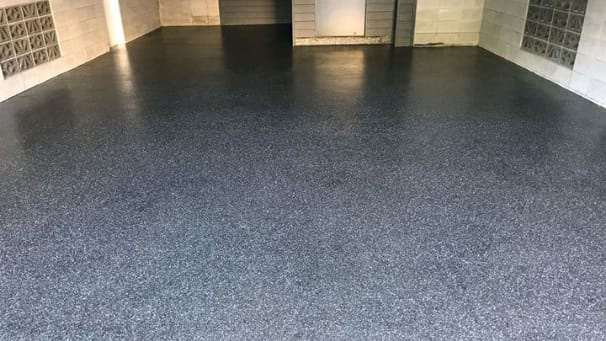
Self-levelling screed is a poured compound that flows to find its own level. You pour it, guide it to the edges and let it settle. It dries in 24 to 48 hours, not 28 days.
This makes it the right choice for renovation projects, thin applications (3–15mm) and any job where the existing floor needs to be levelled quickly. It works over existing screed, tiles and concrete as long as the surface is properly prepared and primed first.
Best for: Renovation re-levelling. Thin overlays over existing floors. Projects where return-to-use time matters.
See our self-levelling screed service
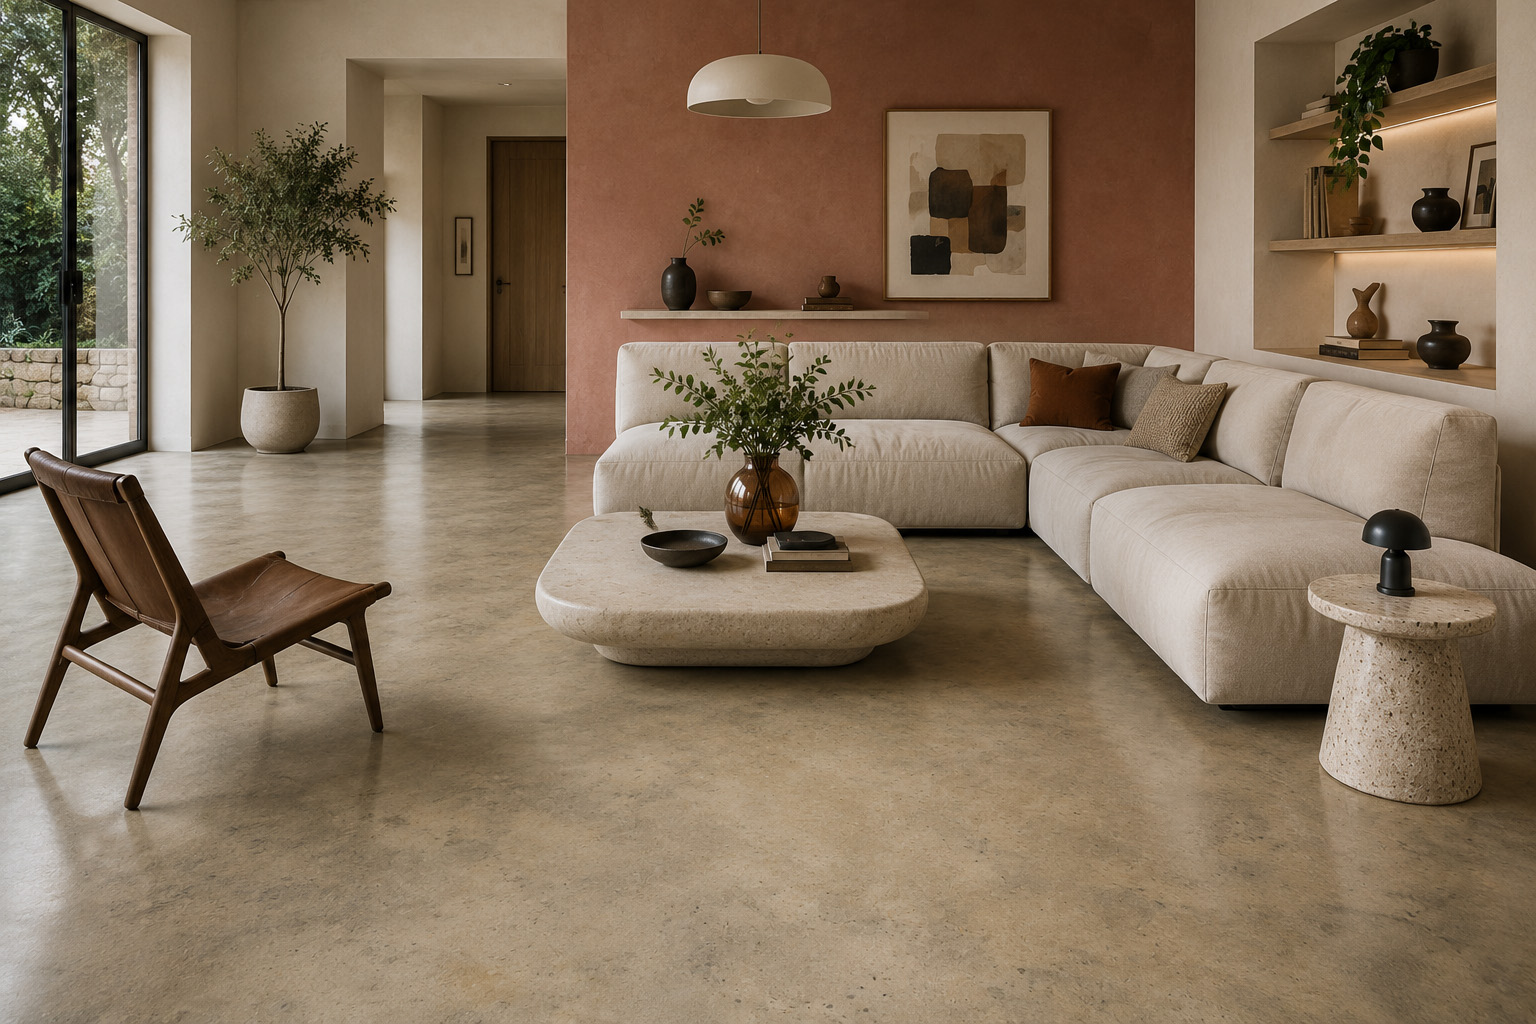
Colour and decorative screed
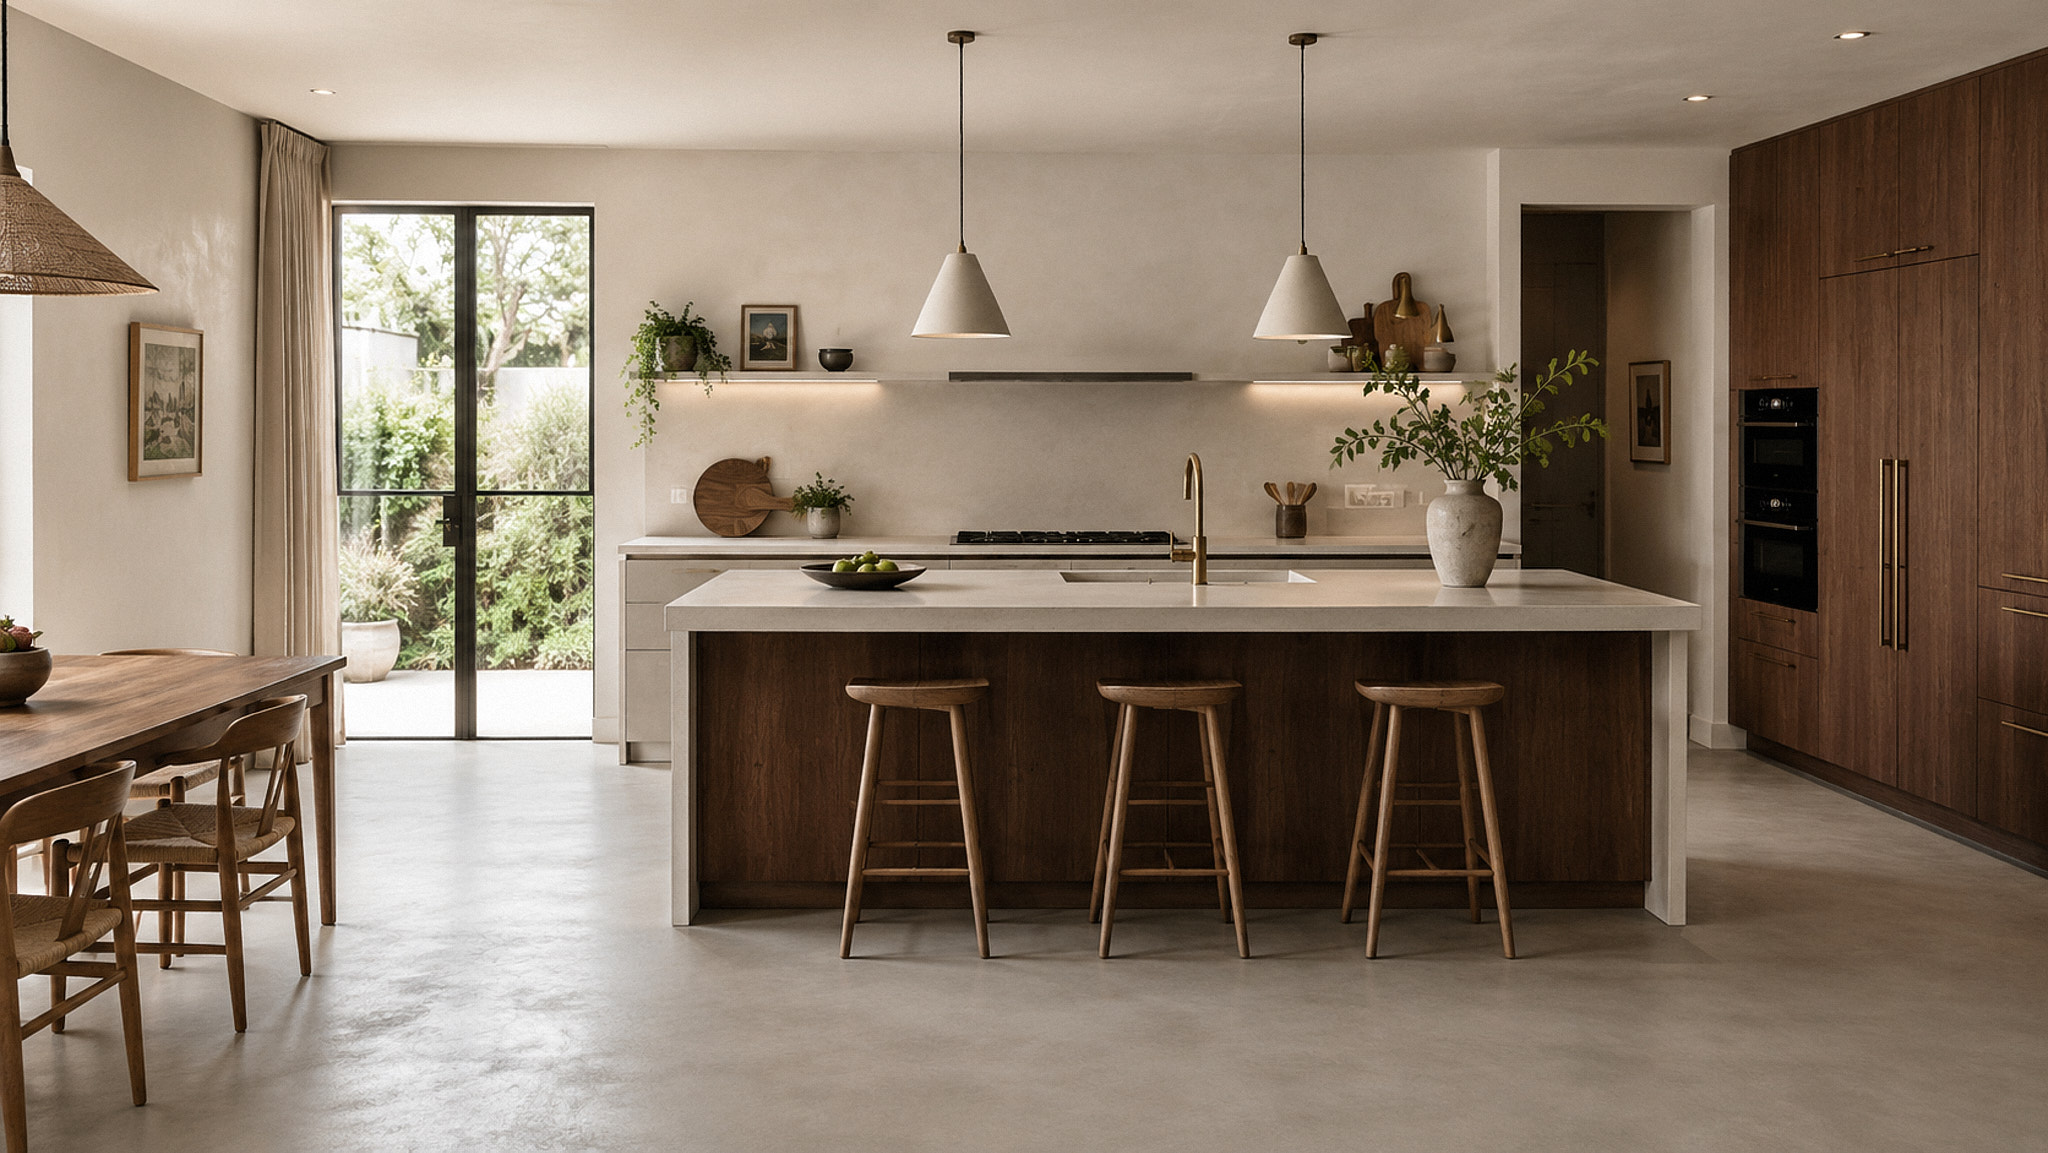
Colour screed is not a base layer; it is the final floor. Pigmented screed is applied at 3 to 8mm thickness and trowelled to a smooth, seamless finish. It can be matte, satin or polished. It can be a single neutral tone or a custom colour matched to your interior.
This is the screed type that Cape Town interior designers have been using in residential renovations for the past five years, particularly in open-plan living areas, entrance halls and kitchen spaces where a seamless, minimal floor is the design goal.
Best for: Residential renovations where the screed is the final surface. Polished concrete look without the cost of grinding. Interior design projects.
See our colour screed service
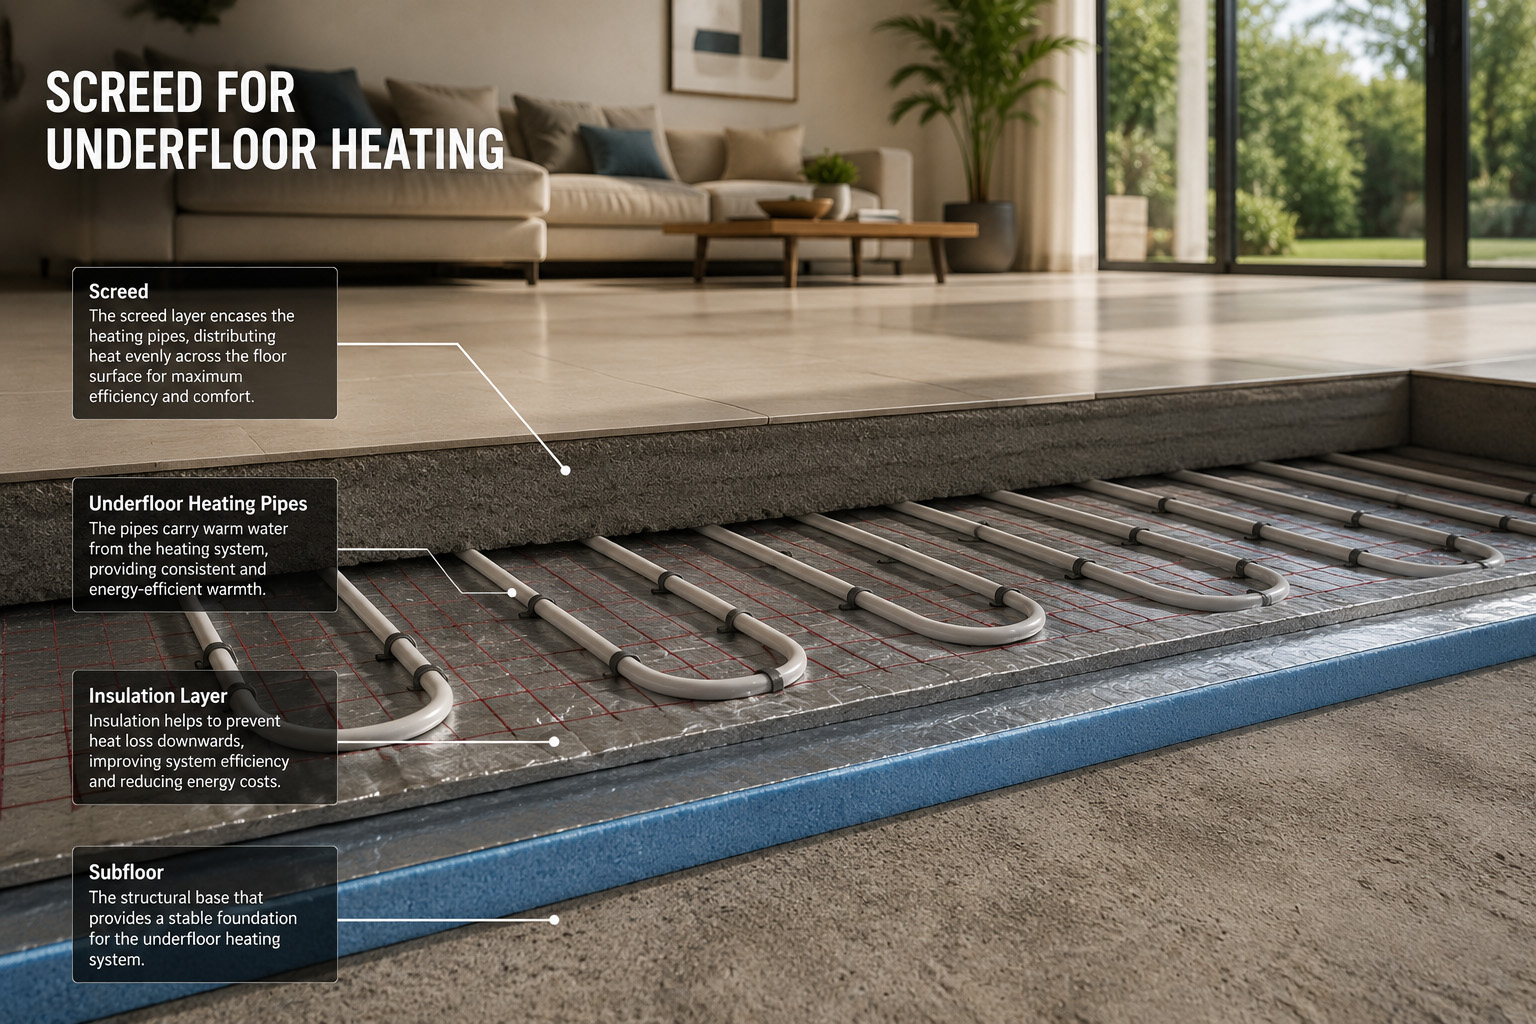
Screed for underfloor heating
Underfloor heating (UFH) systems need a specific screed to work correctly. Anhydrite, also called calcium sulphate screed, flows around UFH pipes and cables with no air pockets, ensuring full thermal contact. Its thermal conductivity is better than sand and cement, which means the heating system performs as designed.
If you install sand and cement screed over an underfloor heating system without the right advice, you can end up with air pockets, reduced heat output and premature system failure.
Best for: Any project with electric or hydronic underfloor heating. New builds with UFH systems—renovations adding UFH to an existing floor.
See our screed for underfloor heating
Where we install screed flooring in Cape Town
Screed is used across almost every type of building and renovation project. Here are the most common applications we handle.
Residential applications
New build slabs
We screed entire homes before tiling or finishing begins, working to the flatness specifications required by the final finish.
Kitchen and living area re-levelling
Old, uneven or damaged screed beneath existing tiles is one of the most common renovation jobs we do across the Southern and Northern Suburbs.
Bathrooms and wet rooms
Screed is compatible with waterproofing systems and creates the fall-to-drain required in shower areas and wet rooms.
Outdoor patios and stoeps
Screed with the correct mix and waterproofing layer is used widely for outdoor entertaining areas across Cape Town.
Garage floors
Screed creates the flat base required before epoxy is applied. The screed and epoxy combination is one of our most common two-step installations.
Commercial applications
Retail and office fit-outs
Level base for vinyl, polished concrete or epoxy topcoats in commercial spaces across Cape Town’s business districts.
Restaurant and commercial kitchens
Food-safe screed systems that can be cleaned to hygiene standards and are compatible with kitchen drainage.
Warehouses and factories
Heavy-duty screed for industrial environments, applied at sufficient thickness to handle machinery and forklift traffic.
Hotels and hospitality
Decorative colour screed in public areas, lobbies and feature spaces where aesthetics are as important as function.
Why Cape Town homeowners choose Solid Tech for screed
Screed and epoxy specialists
We are the only Cape Town flooring company that offers deep expertise in both screed and epoxy. This matters because the two services work together; screed is the correct base for most epoxy floor systems. When one team does both, the substrate and the finish are specified and installed as a single project. No handoff between contractors, no blame when something fails.
We test every slab for moisture before we screed it
Moisture in the substrate is the number one cause of screed failure in Cape Town. Cape Town’s wet winters drive moisture into concrete slabs, particularly in the Southern Suburbs’ older homes and in new build estates where slabs are still curing. We test every slab before we start and treat elevated moisture levels as part of the preparation. We include this in the written quote upfront.
We work to stated flatness tolerances
We specify and achieve a ±3mm flatness tolerance across the full surface of every screed installation. Most competitors describe their work as “smooth and level.” We put an actual number on it because the tiles, epoxy or vinyl that go on top depend on it.
Written guarantee on every installation
Screed failure, delamination or cracking caused by our installation means we come back and fix it. That guarantee is in writing in every job agreement. No debates, no fees.
What to expect
How we install screed flooring in Cape Town
Every screed job is different. The substrate, the project type, the required finish and the timeline all affect how we work. Here is what the process looks like from start to finish.
01
Free site visit and assessment
We come to your Cape Town property, look at the existing substrate, check for cracks and damage, test moisture levels and confirm the required screed type and thickness for your project. You get a written quote before we leave. For renovation projects, we identify any substrate repair work that needs to happen first and include it in the quote upfront.
02
Substrate preparation
This is the most critical step in the entire process. We clean the surface, apply the correct bonding primer, fill major cracks and treat any areas with elevated moisture before the screed is poured. For Cape Town’s older homes where winter rain has been pushing moisture into slabs for decades, this step often involves more preparation than a new-build slab. We never skip it.
03
Screed application
We mix and apply the correct screed type at the specified thickness. For sand and cement screed, we work to a ±3mm flatness tolerance across the full surface, the specification that ensures your tiles or epoxy sit correctly and do not crack at the joints. For self-levelling screed, we pour and guide the compound to ensure full coverage to the perimeter.
04
Curing and surface protection
We protect the screed surface during the cure period and advise you on what to avoid. Sand and cement screed needs 28 days of proper curing before heavy use, tiling or epoxy application begins. Rushing this step is one of the most common causes of tile adhesion failure in Cape Town properties, particularly when construction timelines push for early access. We give you a written curing guide so there are no misunderstandings on site.
05
Final inspection and handover
Before we sign off, we check the finished surface for flatness, check for any surface cracks or inconsistencies and confirm the screed is ready for the next stage of the project. You receive a written handover note confirming the screed type installed, the thickness achieved, the flatness tolerance and the recommended wait time before the final finish is applied.
Screed flooring services across Cape Town and the Western Cape
We install screed floors across the greater Cape Town metro and the Western Cape for residential new builds, renovations, commercial fit-outs and outdoor applications.
Areas we serve:
Constantia
Atlantic Seaboard
Camps Bay
Sea Point
Hout Bay
Century City
Claremont
Kenilworth
Newlands
Rondebosch
Bergvliet
Plumstead
Wynberg
Bellville
Durbanville
Brackenfell
Bloubergstrand
Table View
Milnerton
Goodwood
Pinelands
Stellenbosch
Somerset West
Paarl
Don’t see your area? Get in touch; we cover more of the Western Cape than we can list here.
Frequently asked questions about epoxy flooring in Table View
Does the salt air in Table View affect epoxy flooring?
No, once epoxy has fully cured, salt air does not affect it. This is one of the main reasons we recommend epoxy for Western Seaboard properties. The salt-laden air that causes surface coatings, metals and tiles to degrade over time has no impact on a properly installed epoxy floor. We also make sure to use UV-resistant topcoat systems on all outdoor installations in Table View so the floor does not fade or yellow in the sun.
Do you cover all areas in and around Table View?
Yes. We serve all of Table View, including Parklands, West Beach, Flamingo Vlei, Flamingo Park, Lagoon Beach, Bloubergrant, Blouberg Rise, Big Bay and Blaauwberg. We also cover nearby areas including Bloubergstrand, Milnerton, Sunningdale, Melkbosstrand, Montague Gardens and Century City.
How long does installation take for a Table View home?
A single garage takes one day. A double garage takes one to two days. An open-plan living area or combined patio-and-garage job usually takes two days. We plan the schedule with you before we start, so vehicles can be moved and the area cleared.
Is epoxy flooring a good choice for an outdoor patio in Table View?
Yes, but it needs to be the right system. Standard epoxy is not UV-rated and will yellow and fade under direct sunlight, especially in Cape Town’s strong summers. We install UV-resistant topcoat systems specifically for outdoor use on all Table View patios, pool surrounds and braai areas. Anti-slip texture is included as standard for any outdoor surface. When specified correctly, an outdoor epoxy floor in Table View will last 8–12 years with basic care.
How long does epoxy flooring last in a Table View home?
A well-installed indoor epoxy floor lasts 10 to 15 years. Outdoor patios on the Western Seaboard last 8 to 12 years, depending on UV exposure and traffic. The key is always the surface preparation; we diamond-grind every floor before we coat it, which creates the permanent bond that makes the difference between a floor that lasts and one that does not.
